Hillman Stainless Hex Bolts, Cement Board Screws, Tool Sets, and Grinding Wheels Compared
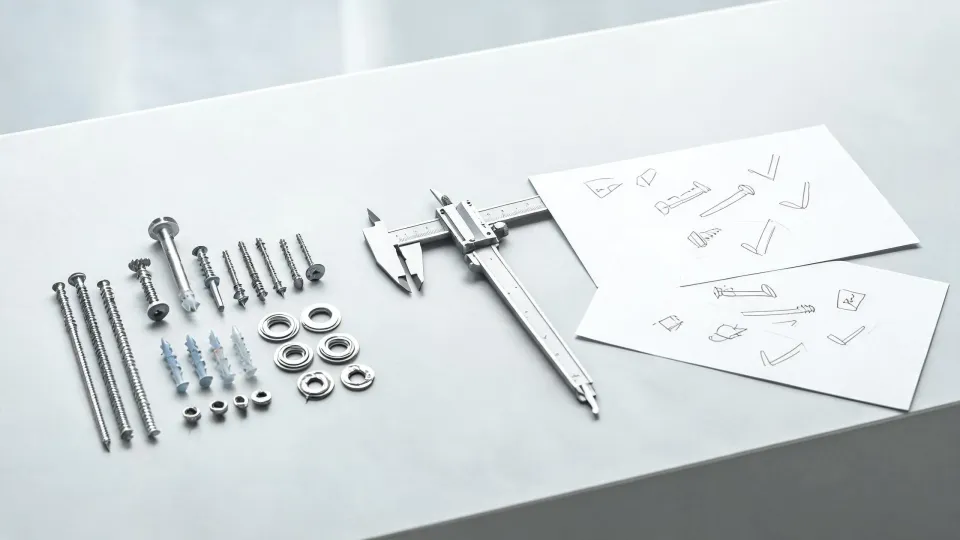
Every product I approve for shipment carries a promise. A hex bolt promises to hold a load through weather and vibration. A cement board screw promises not to corrode quietly behind tile. A 450 piece tool set promises that the least expensive wrench in the box will still work when you need it. My job is making sure every one of those promises has a specification behind it.
I work in quality and brand compliance for Hillman fastener lines. I have reviewed specifications and incoming finished goods since 2022—roughly 2,800 SKU shipments per year, maybe 2,700 if we exclude packaging variants; I would have to check the audit log. The question I hear most from distributors and contractors is not about threads or torque values. It is 'is the cheaper one fine?'
That deserves a comparison rather than a sales pitch. So I am comparing four common sourcing decisions: stainless steel coarse thread hex bolts vs. zinc-plated, cement board screws vs. drywall screws, grinding wheels for speed vs. wheels for finish, and a 450 piece tool set vs. buying tools individually. The measuring stick is the same for all four: what does the choice cost after installation, not just at the register.
Stainless Steel Coarse Thread Hex Bolts vs. Zinc-Plated
A Hillman stainless steel coarse thread hex bolt and a zinc-plated coarse thread hex bolt look almost identical in the bin. In common sizes—1/4-20 through 1/2-13—both are strong enough for most steel-to-steel connections. The real difference is how each one handles its environment over time.
Stainless steel resists corrosion by forming a chromium oxide layer on its surface. Zinc-plated steel resists corrosion by letting the zinc layer be consumed first. In dry indoor air, zinc-plated hardware can last for decades. In wet or coastal conditions, the zinc gets used up much faster, and once it is gone the steel underneath starts rusting. (Should mention: I am talking about 18-8 stainless, the common type used for Hillman stainless steel coarse thread hex bolts, not alloy or hardened fastener grades.)
For outdoor decks, fences, marine railings, or anything near salt water, stainless wins on total cost. Yes, stainless costs more. Based on retail listings I checked in spring 2026, a 3/8-16 x 3 stainless coarse thread hex bolt was around $1.15 while the zinc-plated one was around $0.40. Verify current rates before ordering, but the gap is usually two to three times. The problem is that a corroded zinc bolt does not just fail—it becomes a drilling-out project. The labor to remove one seized bolt is worth more than an entire box of stainless bolts.
The counterintuitive part is that for an indoor, dry, steel-to-steel connection, zinc-plated is often the better buy. Stainless is not stronger in that application; it is simply more corrosion-resistant than it needs to be. You are paying for capacity you will never use. On a large order, those extra fractions of a dollar per bolt add up to real money. So the conclusion is environmental, not brand-based: stainless outside or in damp assemblies; zinc-plated inside where it stays dry.
One more warning about stainless that surprises people: stainless against aluminum can cause galvanic corrosion of the aluminum. The stainless bolt will look fine while the aluminum bracket around it deteriorates. If you are joining stainless to aluminum, isolate the two metals with a washer or a compatible coating. (note to self: I really should make this a one-page guide for our display racks; that question comes up weekly.)
Rule of thumb: wet, coastal, or chemically exposed—stainless. Dry and indoor—zinc-plated. Matching the material to the environment separates a good spec from an expensive one.
Cement Board Screws vs. Drywall Screws: Do Not Let the Price Gap Trick You
Cement board under tile is one of the few places where I will not bend on fastener specification. The advice you sometimes see online is that any screw will hold the board in place while the mortar cures. Technically, a drywall screw will hold a board for a day. The question is what happens after five years of moisture behind the tile.
Drywall screws are built for gypsum board. The thread is aggressive, the head is designed to countersink into soft gypsum paper, and the coating is matched to drywall chemistry. Cement board is denser and highly alkaline. That alkalinity attacks the coating on a standard drywall screw. When the screw starts corroding, you usually cannot see it until the tile installation develops problems.
I have mixed feelings about substitution advice in general. On one hand, trades occasionally improve a job by ignoring what the package says. On the other hand, fasteners are rarely the most expensive part of the assembly they hold together. A tile shower represents thousands of dollars in materials and labor. Replacing a failed fastener after tiling means removing tile, replacing backer board, and redoing waterproofing. That is not a minor repair.
Hillman Group Project Center cement board screws are designed for exactly this environment—hardened body, corrosion-resistant coating, and a head shape that seats flush without damaging the board face. Based on retail listings I checked in spring 2026, a 200-count box runs roughly $8 to $13. The drywall screws you might substitute are only a few dollars less per box. That difference is the cheapest insurance you will ever buy on a tile job. Most tile installation methods in the TCNA Handbook also call for corrosion-resistant fasteners in cement board; this is not a manufacturer preference.
Conclusion: if the substrate is cement board, use cement board screws. If it is drywall, use drywall screws. The extra cost of the correct screw is trivial; the cost of a failure is not.
How Can I Tell the Grit Size of a Grinding Wheel?
This question shows up in our customer service inbox several times a month: how can I tell the grit size of a grinding wheel? The direct answer is on the wheel label.
Grinding wheels sold in North America carry a printed blotter on the side. The label lists the abrasive type and grit size in a code. A mark like A24 means aluminum oxide abrasive with 24 grit. C46 means silicon carbide with 46 grit. The number after the letter is the grit size. So the fastest way to tell is to read the label before mounting the wheel. Abrasive wheel safety standards such as ANSI B7.1 treat that label as a safety element, not just product information.
What if the label is worn off or missing? The honest quality-inspector answer is to discard the wheel. A grinding wheel without a label is also a wheel without a confirmed maximum operating speed. Mounting an unlabeled wheel is how grinding injuries happen. If you are trying to identify grit only because the paper label is gone, the wheel is not worth the risk.
Once you have labeled wheels in front of you, the real comparison is coarse vs. fine based on the job:
- 24 to 36 grit: fast material removal—heavy grinding, weld cleanup, removing rust and paint. Leaves a rough surface.
- 46 to 60 grit: general purpose grinding and edge blending. A good middle ground for steel fabrication.
- 80 to 120 grit: finishing, deburring, and blending before paint or coating. Removes material slowly but leaves a smoother result.
The common mistake is buying one coarse wheel and using it for everything. Coarse does not mean better—it means faster and rougher. If you use a 36-grit wheel to clean a surface that needs paint, you will spend extra time sanding out deep scratches. A 60-grit wheel would have finished the job in one step. Trying to cut down a thick weld with 120 grit will generate heat and wear out the wheel before you finish.
So the grit question has two answers. Read the blotter for the number, and choose the number based on the finish you need as well as the speed you want. A labeled 60-grit wheel is the closest thing to a sensible starting point for most metalwork.
450 Piece Tool Set vs. Buying Tools Individually
I have mixed feelings about big tool sets. On one hand, a 450 piece tool set gives a first-time buyer sockets, wrenches, hex keys, screwdrivers, bits, and pliers for less per tool than almost any set of individual purchases. On the other hand, the set version of a daily-use tool is rarely as good as a professional-grade individual version. Both things are true. The right answer depends on where you are starting.
If you have an empty toolbox—a new apprentice, a farm shop, a service truck—a 450 piece tool set is a smart starting point. You are paying a bulk price for coverage and organization. Over the first year, you will discover which three tools you actually use every day. That is when you upgrade those specific tools to higher-quality individual versions. The big set becomes the backup drawer, which is exactly what it should be. I did not always think this way; I used to tell people to avoid sets entirely. Then I helped a relative outfit a service truck from scratch and watched the individual shopping list hit four figures before the case was half full.
If you are replacing a broken tool in a kit you already use daily, buy the best individual tool you can justify. Replacing a 10mm wrench with another budget 10mm wrench just means replacing it again later. A professional wrench that lasts for years is usually cheaper per use than a cheap wrench that fails on the first stubborn nut.
When you compare sets, look beyond the socket count. One thing I check first is whether the set includes smooth pliers—the kind of pliers with jaws that have no serration. Smooth-jaw pliers are essential for finish work, like gripping a chrome nut or a brass fitting without marring the surface. If a 450 piece tool set leaves them out, it is probably prioritizing piece count over usefulness. If it includes them, that is a sign someone thought carefully about the jobs the set will actually do.
So the conclusion here is: a 450 piece tool set is a good foundation, not a final answer. Buy it, work with it, and upgrade the tools that earn their keep. The tools that stay in the box can stay budget-friendly.
Putting the Comparisons Together
If you have read this far, you probably want a checklist, not a philosophy. Here is the short version:
- Outdoor, wet, or coastal fastening: choose a stainless steel coarse thread hex bolt. The upfront cost is the price of avoiding a future drilling-out job.
- Indoor, dry, steel-to-steel: zinc-plated fasteners are the better total-cost choice for most jobs.
- Cement board under tile: use Hillman Group Project Center cement board screws or another rated cement board screw. Leave drywall screws for drywall.
- Grinding or blending metal: read the wheel grit label, and choose coarse, medium, or fine based on the finish you need—not just how fast you want to cut.
- Building your first toolbox: a 450 piece tool set is a solid, economical starting point. Just make sure it includes smooth pliers and a usable socket and wrench range.
None of these comparisons is about being premium for its own sake. In my line of work, I see what happens when a product is matched to the wrong environment: fasteners corrode, screws snap, wheels glaze, and tools fail early. Every one of those failures has a cost that the original purchase price did not show. A cheaper choice is only cheaper if it survives the job. Write the replacement cost next to the purchase price before you choose—that turns 'cheap vs. expensive' into the comparison that actually matters.

Maren Jorgensen
Maren Jorgensen is an independent hand tool and torque applications analyst covering wrenches, pliers, screwdrivers, hammers, sockets, ratchets, hex keys, and tool sets. She applies ISO 6789-1 torque-tool conformance principles while examining jaw capacity, leverage, fastener engagement, torque range, accuracy, handle geometry, and material hardness. Her practical guides help tradespeople and procurement teams select suitable tools, plan controlled tightening, and compare durability without relying on brand reputation alone.